
Step 1: Go to Google Business Profile & Sign In
Visit google.com/business and sign in with your Google account (or create one for your business). Click the Manage now button to begin setting up your profile.
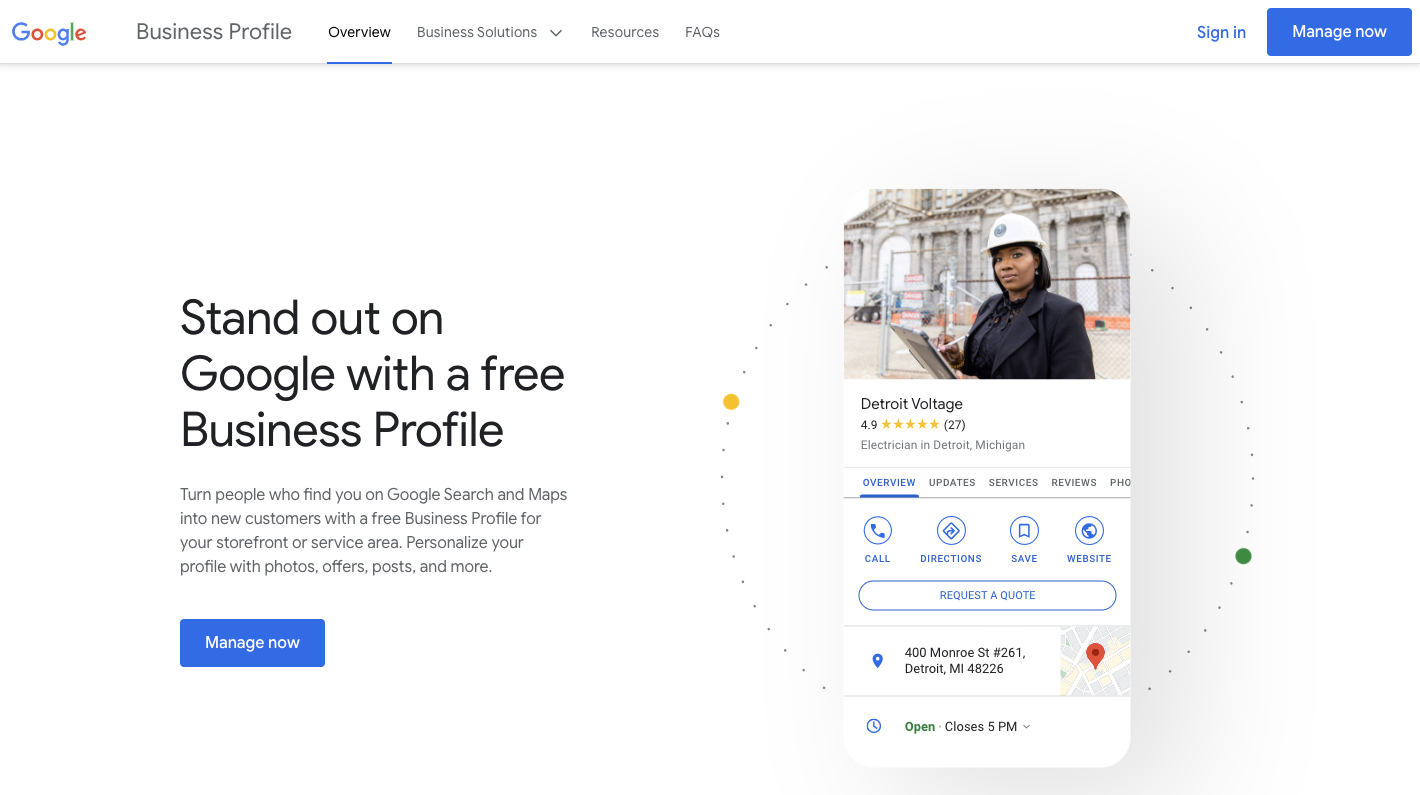
Figure: Homepage with "Manage now" button.
Step 2: Enter Business Name & Category
Type in your business name. If it appears in the suggestions, you can claim it; otherwise, create a new listing. Next, select the appropriate category that best describes your business.
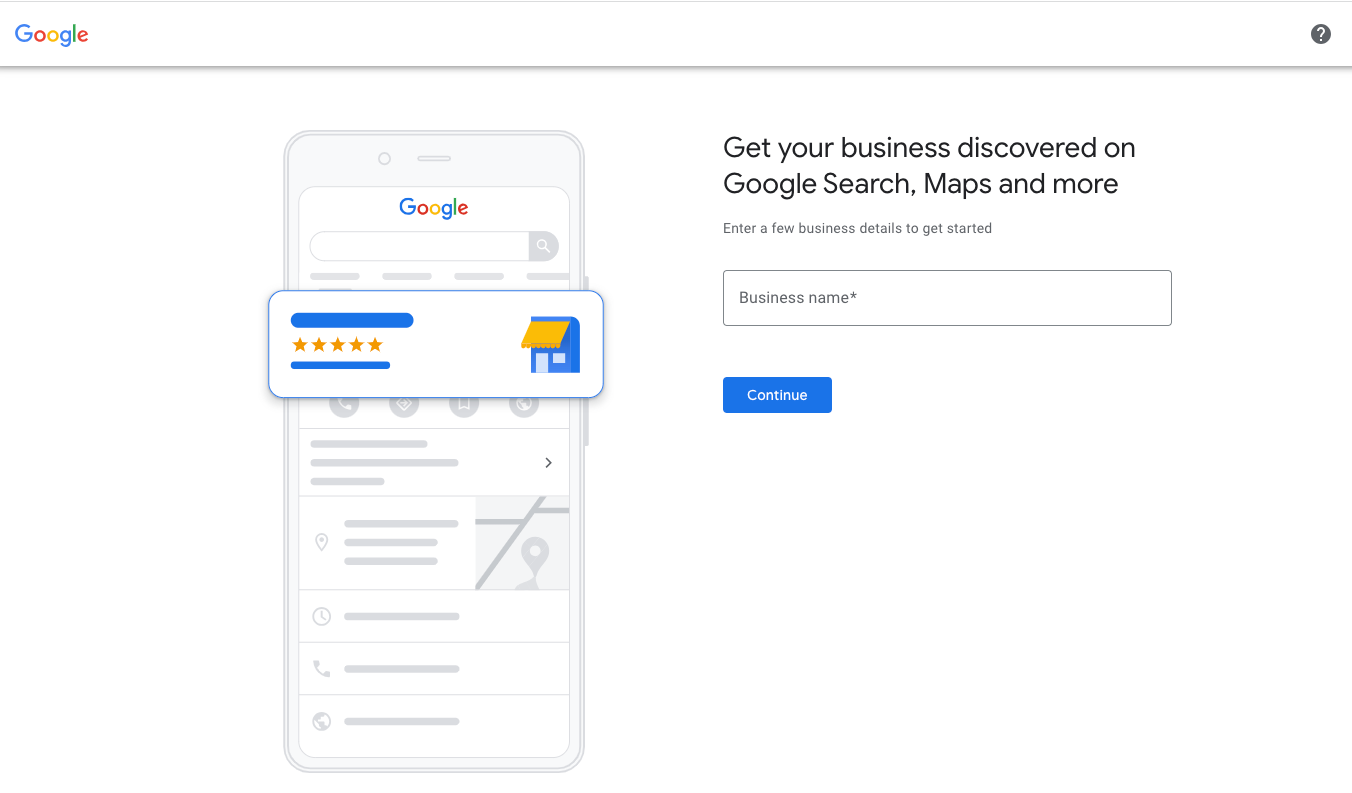
Figure: Business name entry and category selection.
Step 3: Choose Your Business Type
Select how your business operates. Options include "Local store" (if you have a physical location), "Online retail" (if you sell online), or "Service business" (if you serve customers at their locations). Your choice determines if you’ll be prompted for an address.
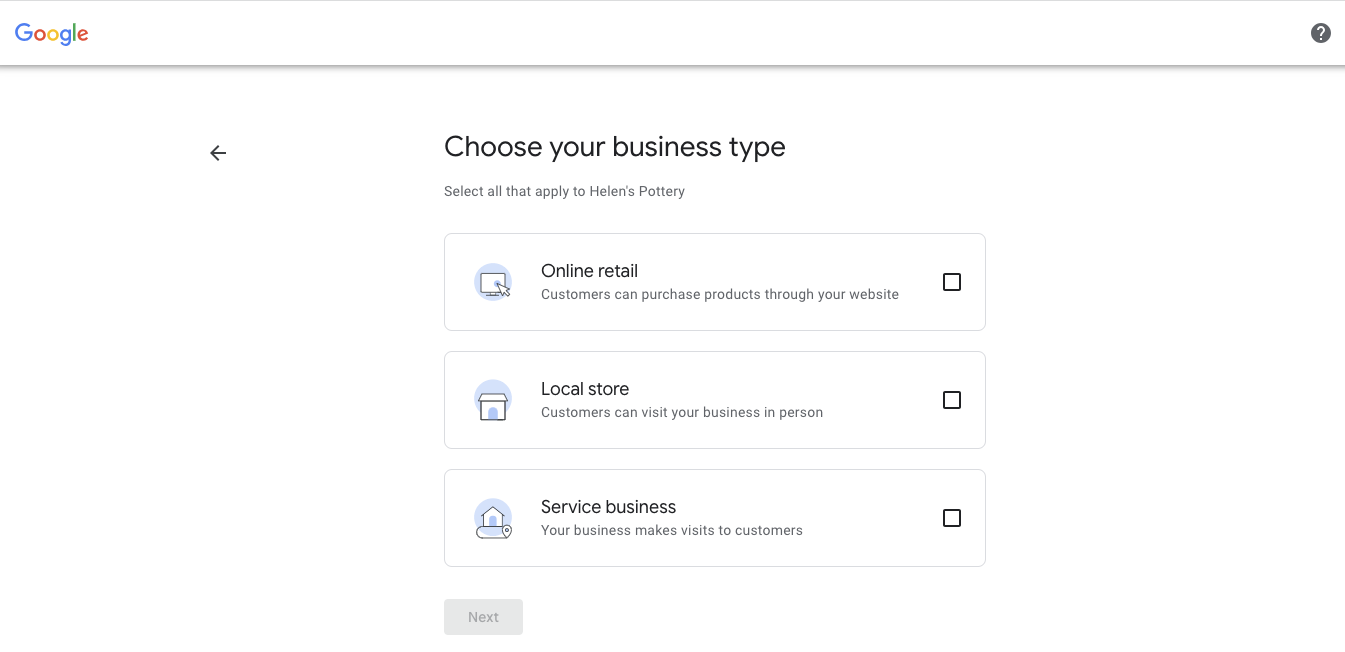
Figure: Choose your business type.
Step 4: Enter Address & Contact Details
If you have a physical location, enter your address (street, city, state, ZIP). Then, provide your phone number and website URL so customers can easily reach you.
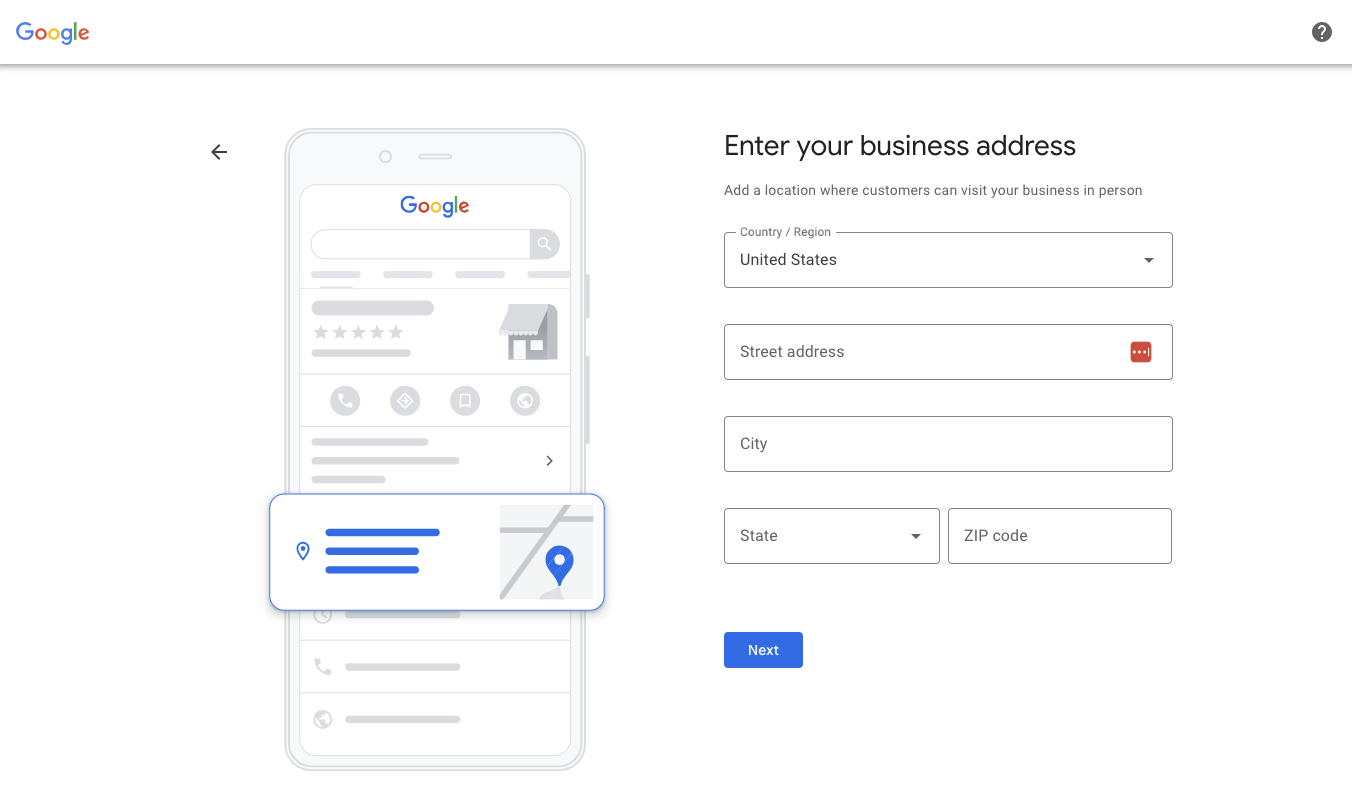
Figure: Enter your business address and contact details.
Step 5: Verify Your Business
Choose a verification method (postcard, phone, or email) to prove your ownership. Follow Google’s instructions—if by mail, you’ll receive a postcard with a code that you enter later. Completing verification makes your profile fully live.

Figure: Verification methods available for your business.
Step 6: Add Business Hours
Enter your operating hours by selecting the days and setting the opening and closing times. Update these hours for holidays or special events as needed.
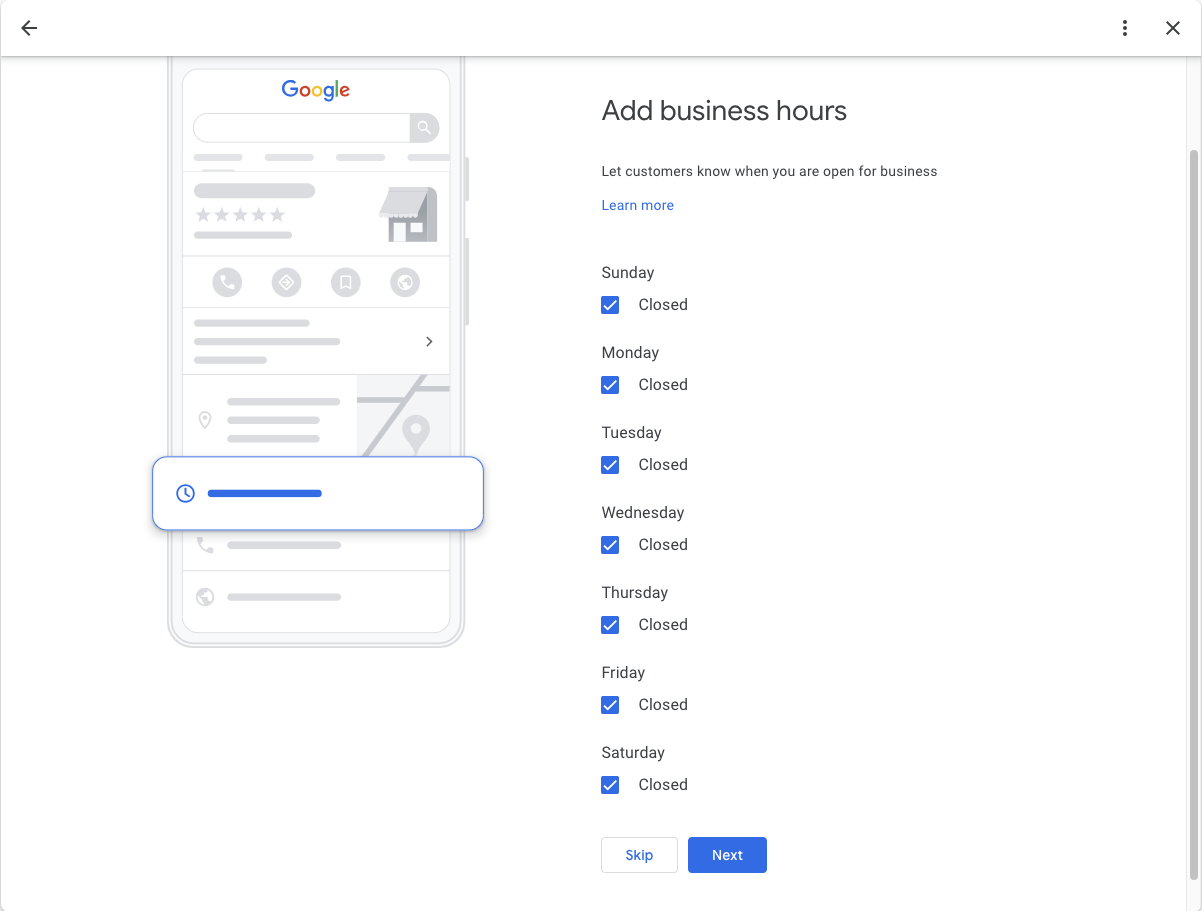
Figure: Specify your business hours.
Step 7: Add a Business Description
Write a concise description (up to 750 characters) that highlights what makes your business unique, the services you offer, and any relevant keywords. Keep it friendly and informative.
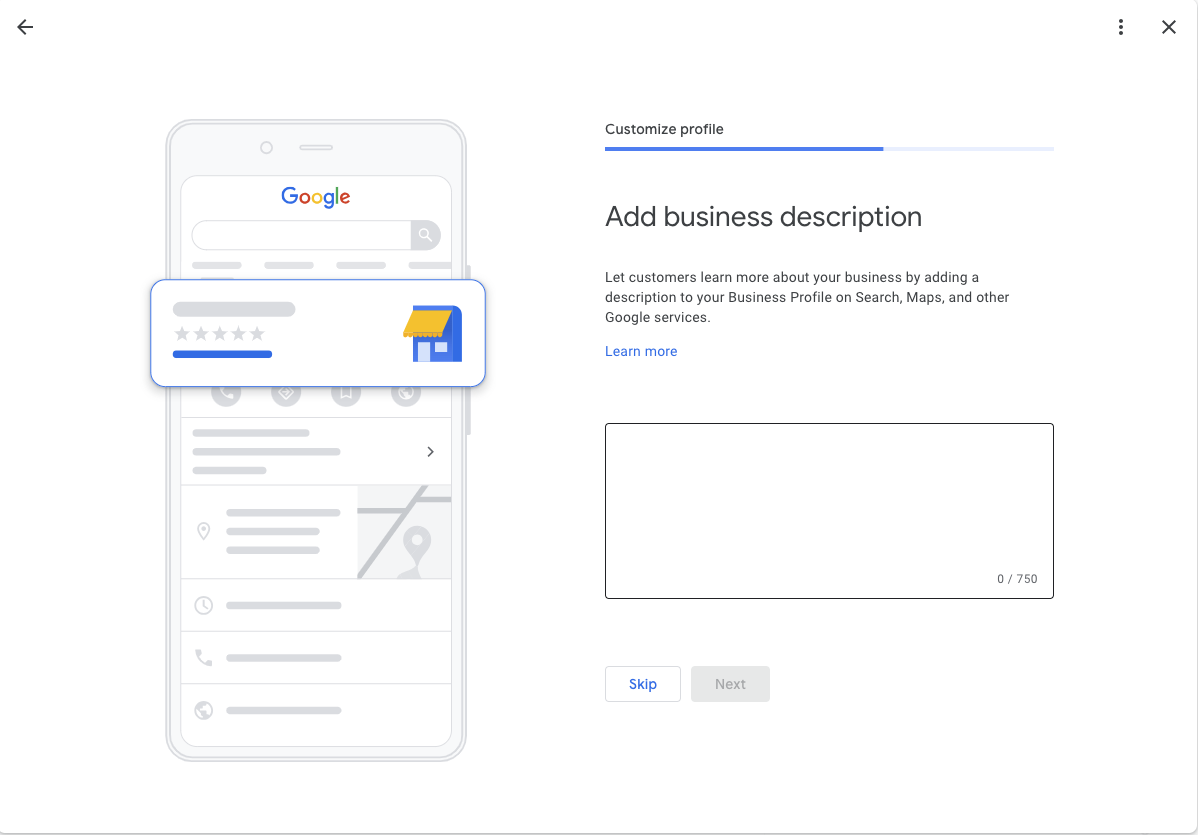
Figure: Enter your business description.
Step 8: Add Photos
Upload high-quality photos, including your logo, cover image, and pictures that showcase your location, products, or services. Photos build trust and attract more customers.

Figure: Upload images to enhance your profile.
Step 9: Finish & Optimize Your Profile
Click "Finish" to complete the setup. Then, optimize your profile by encouraging reviews, adding posts, and regularly updating your information to stay visible in local searches.
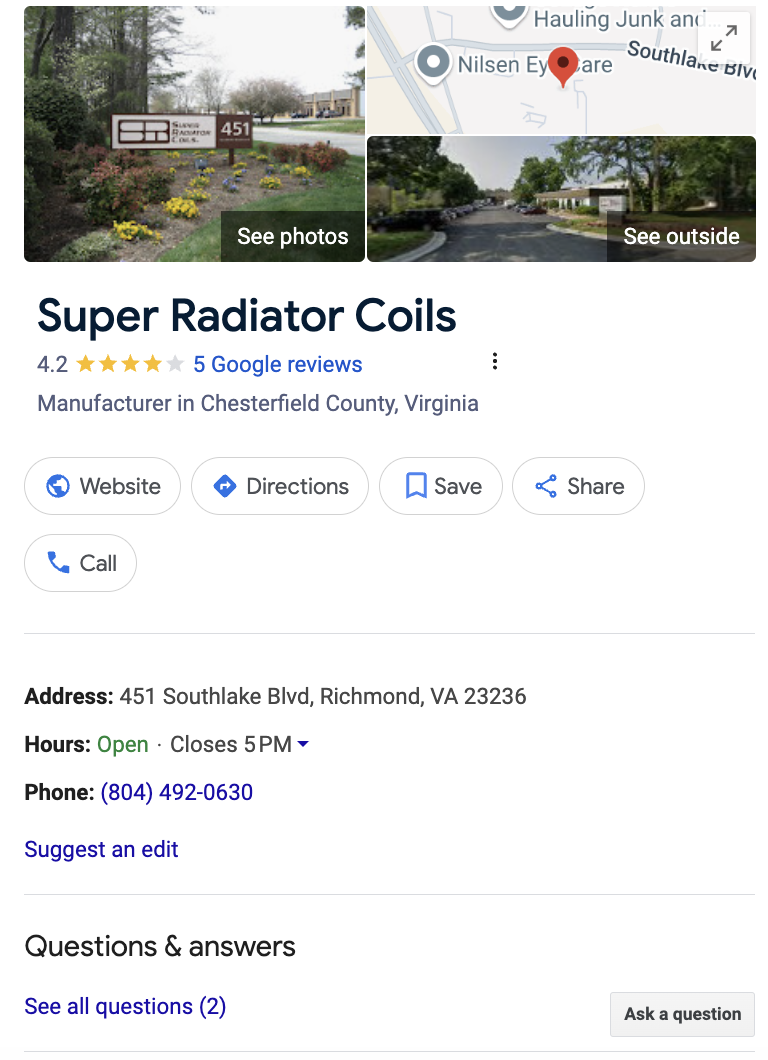
Figure: Example of an optimized Google Business Profile listing.
Step 1: Go to Google Business Profile & Sign In
Visit google.com/business and sign in with your Google account (or create one for your business). Click the Manage now button to begin setting up your profile.
Figure: Homepage with "Manage now" button.
Step 2: Enter Business Name & Category
Type in your business name. If it appears in the suggestions, you can claim it; otherwise, create a new listing. Next, select the appropriate category that best describes your business.
Figure: Business name entry and category selection.
Step 3: Choose Your Business Type
Select how your business operates. Options include "Local store" (if you have a physical location), "Online retail" (if you sell online), or "Service business" (if you serve customers at their locations). Your choice determines if you’ll be prompted for an address.
Figure: Choose your business type.
Step 4: Enter Address & Contact Details
If you have a physical location, enter your address (street, city, state, ZIP). Then, provide your phone number and website URL so customers can easily reach you.
Figure: Enter your business address and contact details.
Step 5: Verify Your Business
Choose a verification method (postcard, phone, or email) to prove your ownership. Follow Google’s instructions—if by mail, you’ll receive a postcard with a code that you enter later. Completing verification makes your profile fully live.
Figure: Verification methods available for your business.
Step 6: Add Business Hours
Enter your operating hours by selecting the days and setting the opening and closing times. Update these hours for holidays or special events as needed.
Figure: Specify your business hours.
Step 7: Add a Business Description
Write a concise description (up to 750 characters) that highlights what makes your business unique, the services you offer, and any relevant keywords. Keep it friendly and informative.
Figure: Enter your business description.
Step 8: Add Photos
Upload high-quality photos, including your logo, cover image, and pictures that showcase your location, products, or services. Photos build trust and attract more customers.
Figure: Upload images to enhance your profile.
Step 9: Finish & Optimize Your Profile
Click "Finish" to complete the setup. Then, optimize your profile by encouraging reviews, adding posts, and regularly updating your information to stay visible in local searches.
Figure: Example of an optimized Google Business Profile listing.
Step 10: Post-Launch Optimizations
Once your profile is live, consider these additional enhancements to maximize your impact:
- Add Products & Services: List detailed information about your products or services. For example, if you’re a restaurant, add menu items; if you’re a retailer, add individual product details.
- Set Attributes: Utilize available attributes such as Parking, Women Owned, Wheelchair Accessible, and others. These features help differentiate your business and attract customers looking for specific qualities.
- Regular Posts & Updates: Use the Posts feature to share promotions, news, or events. Keeping your content fresh helps maintain engagement and improves local search visibility.
- Encourage & Manage Reviews: Ask satisfied customers to leave reviews, and respond promptly to all feedback. Reviews boost credibility and influence rankings.
- Utilize Q&A: Monitor and answer questions posted on your profile to assist potential customers and reduce uncertainty.
- Monitor Insights: Use the Analytics in your Google Business Profile dashboard to track interactions and adjust your strategy over time.
These post-launch steps ensure your profile remains dynamic, engaging, and optimized for local search success.